How to Connect your Camera to the DJI Ronin 2
DJI is fundamentally a company that listens to its users. When design elements trouble us, they update. And when we run the same cables up and down our Ronins, day after day, DJI integrates those cables directly into the Ronin 2. Power, control, SDI, all of it is present in the DJI Ronin 2.
SDI Video
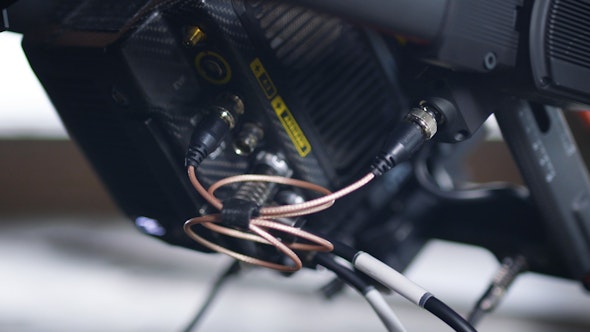
The DJI Ronin 2 carries an SDI cable from the camera cage to the base of the top handle, all internally. This allows you to use short 6-inch jumpers to connect your camera to a monitor instead of having to worry about running cable, keeping it out of the moving parts, and stressing about how that all affects the balance. It is a simple change, but a major win for usability.

Power
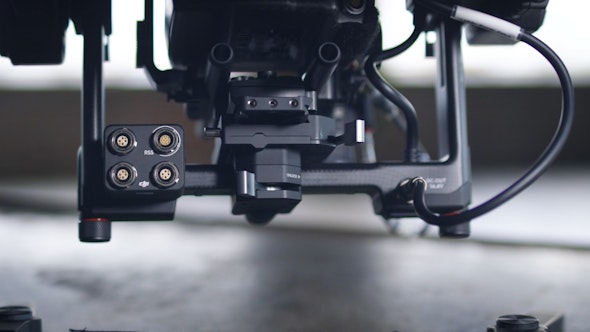
We covered this in depth in other articles [link to other article], but the DJI Ronin 2 makes major improvements in power distribution. The dual batteries up top provide enough juice to power your camera and all of your accessories, minimizing need for extra batteries, and along with them the extra power cables required. It is littered with simple p-tap connectors in the places you are most likely to need them, again giving you the freedom to use shorts stingers and not long cable runs.
Camera Control

If you are using any of the supported camera brands (RED and ARRI especially), you are able to completely control the record functions of the camera through the Ronin. Each camera manufacturer has its own standards and connectors, but simple cables can be purchased from the DJI store and used to wire the camera into the Ronin. This gives us control through the remote or the touch screen. They plug into the RSS Port on Ronin 2's Power Hub for quick access. This again minimizes the number of cables and peripherals required to operate the DJI Ronin 2.
In Conclusion
The Ronin 2 streamlines the increasingly complicated rigs we find ourselves building by integrating all of the cables we could ask for directly into the body. It’s safer, it’s cleaner, and it’s so much easier to set up and shoot with.


