How to Update the Panasonic GH5's Firmware
Every now and then, a camera manufacturer will find that they have enough bug patches - or more optimistically, new and exciting features - built up that they decide to bundle them all together and send it out as a firmware update. The procedure for every manufacturer and every camera looks a little bit different, but on a GH5, the process is as follows.
1 - Download Correct Firmware
Or, to be more specific, make sure you need to download new firmware in the first place. You can check your current setup by opening the wrench menu and scrolling down to “Version Display.” This will show you exactly what firmware you have on the camera currently. If it does not match the latest version advertised here, then download their version. The website can be a bit hard to navigate, so we made a quick video showing you how to get what you need.
2 - Load the Firmware on an SD Card
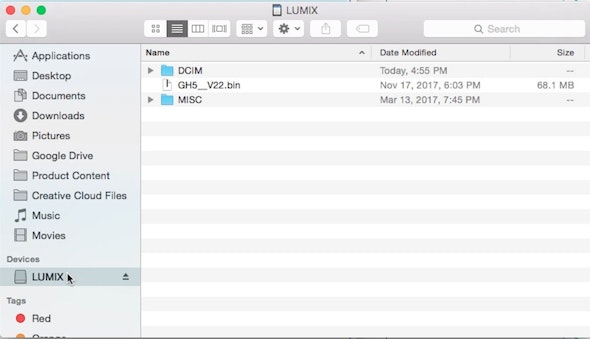
Format an SD card in-camera to guarantee a stable transfer, then copy the freshly-downloaded .bin file onto the root directory of the card. That means no sub-folders. No DCIM, no MISC, just straight onto the card. Then plug that card back into your GH5.

3 - Updating Your GH5
Make sure you have a fully-charged battery inserted, then boot up the camera. If you were expecting it to immediately begin the process, you may be surprised to find that it at first will appear to operate normally. To trigger the update, you actually have to press the green playback button on the top-left side of the camera back. This will prompt you with an “Are you sure” screen, which you will simply say yes to. Let the process run without touching any buttons, and soon your update will be complete. If you want to verify that, just go to the Version Display menu we accessed earlier.


